
Enhance Photo: Simple Ways to Improve Your Images
Learn practical methods to improve photo quality quickly. Discover tools and techniques that make your pictures look better in seconds. Download Better Colors for Windows and transform your images with professional color correction right now.
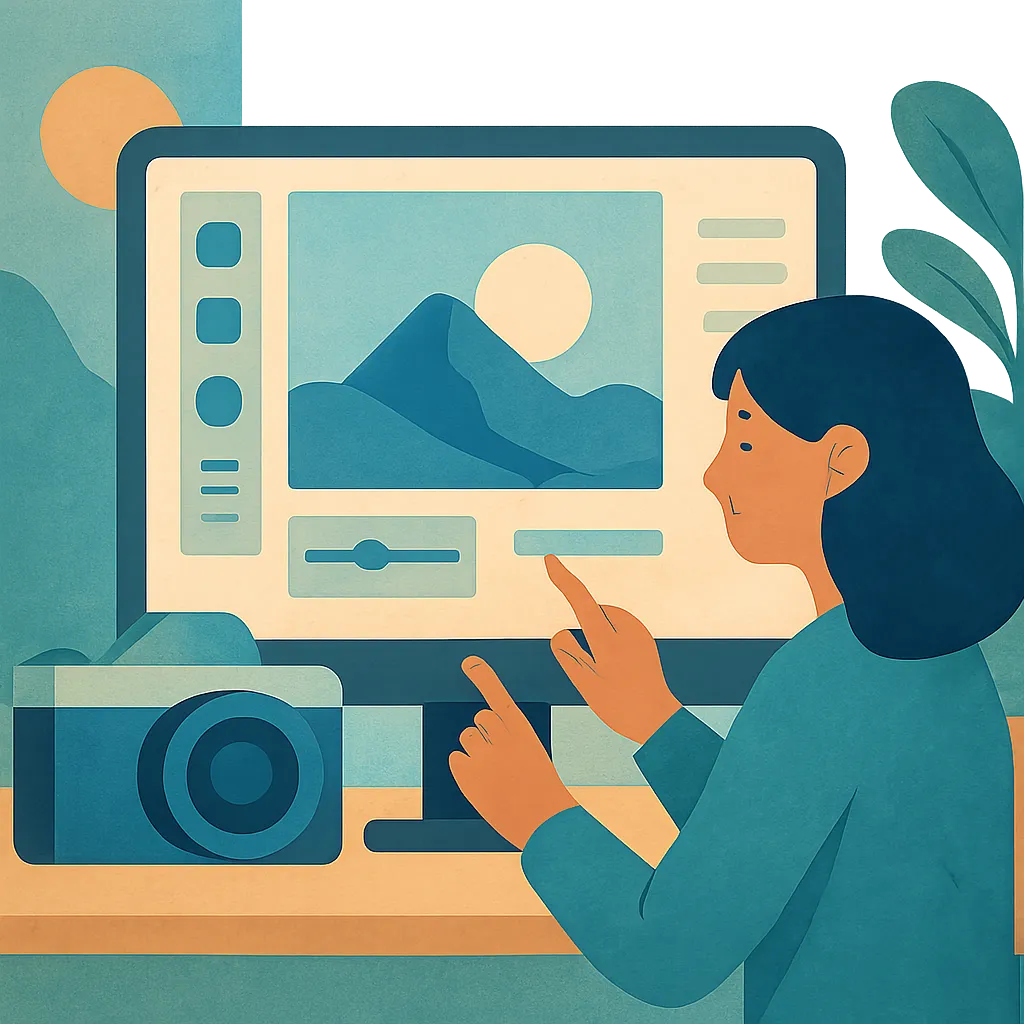
Your photos capture memories, but sometimes they need a little help to look their best. Poor lighting, dull colors, and soft focus can turn a great moment into a disappointing image. You don't need professional skills or expensive software to fix these problems. Simple adjustments can transform your pictures from ordinary to impressive.
Why Photos Need Enhancement
Cameras capture what they see, but they don't always see what you remember. The sunset that looked brilliant in person might appear washed out on screen. Indoor shots often come out too dark or too yellow. Even smartphones, despite their advanced cameras, struggle with challenging conditions. These technical limitations mean most photos benefit from some improvement after you take them.
Quick Ways to Improve Your Images
Three main adjustments make the biggest difference:
- Adjust brightness and contrast to reveal hidden details
- Boost color saturation to make hues pop without looking fake
- Sharpen edges to restore clarity and definition
Start with brightness. If your photo looks too dark, raising the exposure brings out details in shadows. Too bright? Lower it to recover blown-out highlights. Contrast adds depth by making darks darker and lights lighter. This simple change adds dimension to flat-looking shots.
Color correction comes next. Many photos appear duller than the scene you remember. Increasing saturation carefully brings back the richness you saw with your eyes. Be careful not to push it too far, or skin tones will look unnatural and skies will turn radioactive. Tools that offer ai photo enhancer features can help find the right balance automatically.
Understanding Basic Adjustment Tools
Most photo software offers sliders for common adjustments. The exposure slider controls overall brightness. Highlights and shadows let you target specific tonal ranges. The whites and blacks sliders set your brightest and darkest points. Learning these basic controls takes just minutes, but they give you precise command over your image's appearance.
Temperature and tint correct color casts. Indoor lights often make photos too orange or too blue. The temperature slider shifts the image warmer or cooler, while tint handles green and magenta adjustments. Getting these right makes your photo look natural instead of artificially lit. Many image enhancer applications detect and fix these issues automatically.
Advanced Techniques for Better Results
Sharpening adds crispness to your images. It works by increasing contrast along edges, making details stand out. Apply it last, after other adjustments, and use a light touch. Over-sharpening creates ugly halos around objects and amplifies noise. If your image started blurry, you might need specialized unblur image tools to recover lost detail.
Noise reduction smooths out grainy artifacts that appear in low-light photos. Modern cameras produce less noise than older models, but it still shows up in dark areas. Reducing noise too much makes photos look plasticky, so find the right balance. Some photographers prefer to keep a little grain for a more natural look. When working with compressed files, you might first need to compress jpeg to 100kb before applying other edits.
Choosing the Right Enhancement Method
Different situations call for different approaches. Quick social media posts need fast fixes. Important photos for printing deserve more careful attention. Batch processing helps when you have many similar images from the same event. Presets speed up your workflow by applying favorite settings with one click.
Automatic enhancement tools analyze your image and apply appropriate corrections. They work well for common problems and save time when you have many photos to process. Manual adjustments give you precise control but require more skill and patience. Many ai photo editor online free platforms combine both approaches, letting you start with automatic fixes and then refine them manually.
Getting Started Today
You don't need to master every technique at once. Start with basic brightness and color adjustments, then add more advanced methods as you gain confidence. Practice on copies of your photos so you always have the original. Compare before and after versions to see what works and what doesn't.
Better Colors offers a one-click solution that automatically boosts contrast and color vibrancy in your images within seconds. Download Better Colors and start improving your photos right away without any learning curve.