How to Restore Old Scanned Family Photos at Home
Learn practical methods to restore old scanned family photos. Fix fading, damage, and color issues with simple tools and techniques. Ready to bring your memories back to life? Download our free software and start fixing your photos today.
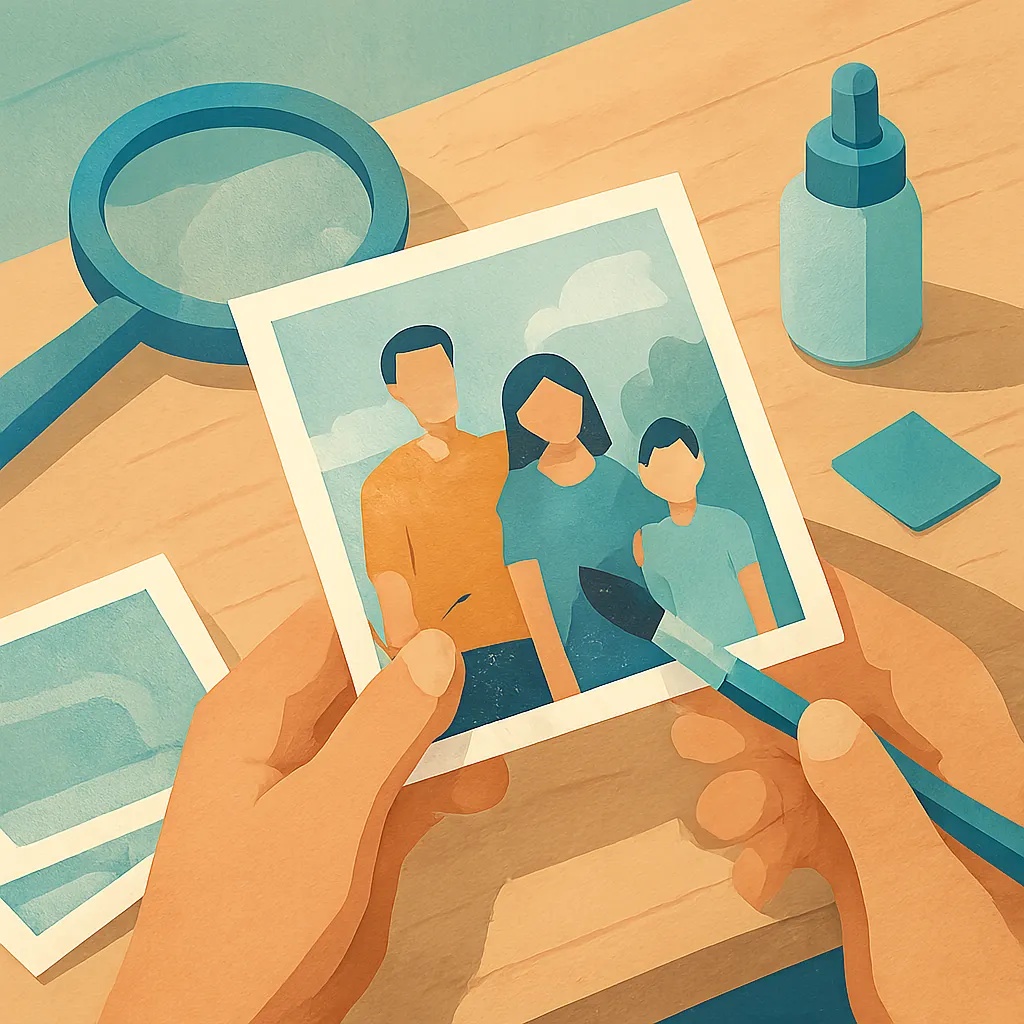
Old family photographs hold memories that cannot be replaced. These images capture moments from decades past, showing relatives and events that shaped your family history. Over time, printed photos fade, yellow, and collect scratches. Scanning these pictures preserves them digitally, but the scans often reveal damage that was less visible on the originals.
Restoring scanned photos brings those memories back to life. The process removes blemishes, corrects color shifts, and repairs tears or creases. You can accomplish most of this work on your own computer without professional help. The results let you share clear images with family members and create prints that look fresh.
Why Scanned Photos Need Restoration
Most old photographs suffer from specific types of damage. The emulsion layer breaks down over time, causing colors to shift toward yellow or brown tones. Physical handling creates fingerprints, scratches, and bent corners. Storage in attics or basements exposes photos to humidity and temperature changes that accelerate deterioration.
When you scan these damaged photos, the digital file captures every flaw. Dust particles appear as dark spots. Creases show as white or dark lines. The overall image often looks dull and lacks the contrast that makes faces and details stand out. Without restoration, your digital copies preserve the damage along with the memory.
Basic Steps to Restore Your Scans
Start by making high-quality scans of your original photos. Use at least 300 DPI resolution to capture enough detail for editing. Save files in an uncompressed format like TIFF or high-quality JPEG. Keep your original scans untouched in a backup folder.
Key restoration tasks include:
- Removing dust spots, scratches, and stains from the image surface
- Adjusting brightness and contrast to recover faded details
- Correcting color casts to restore natural skin tones and backgrounds
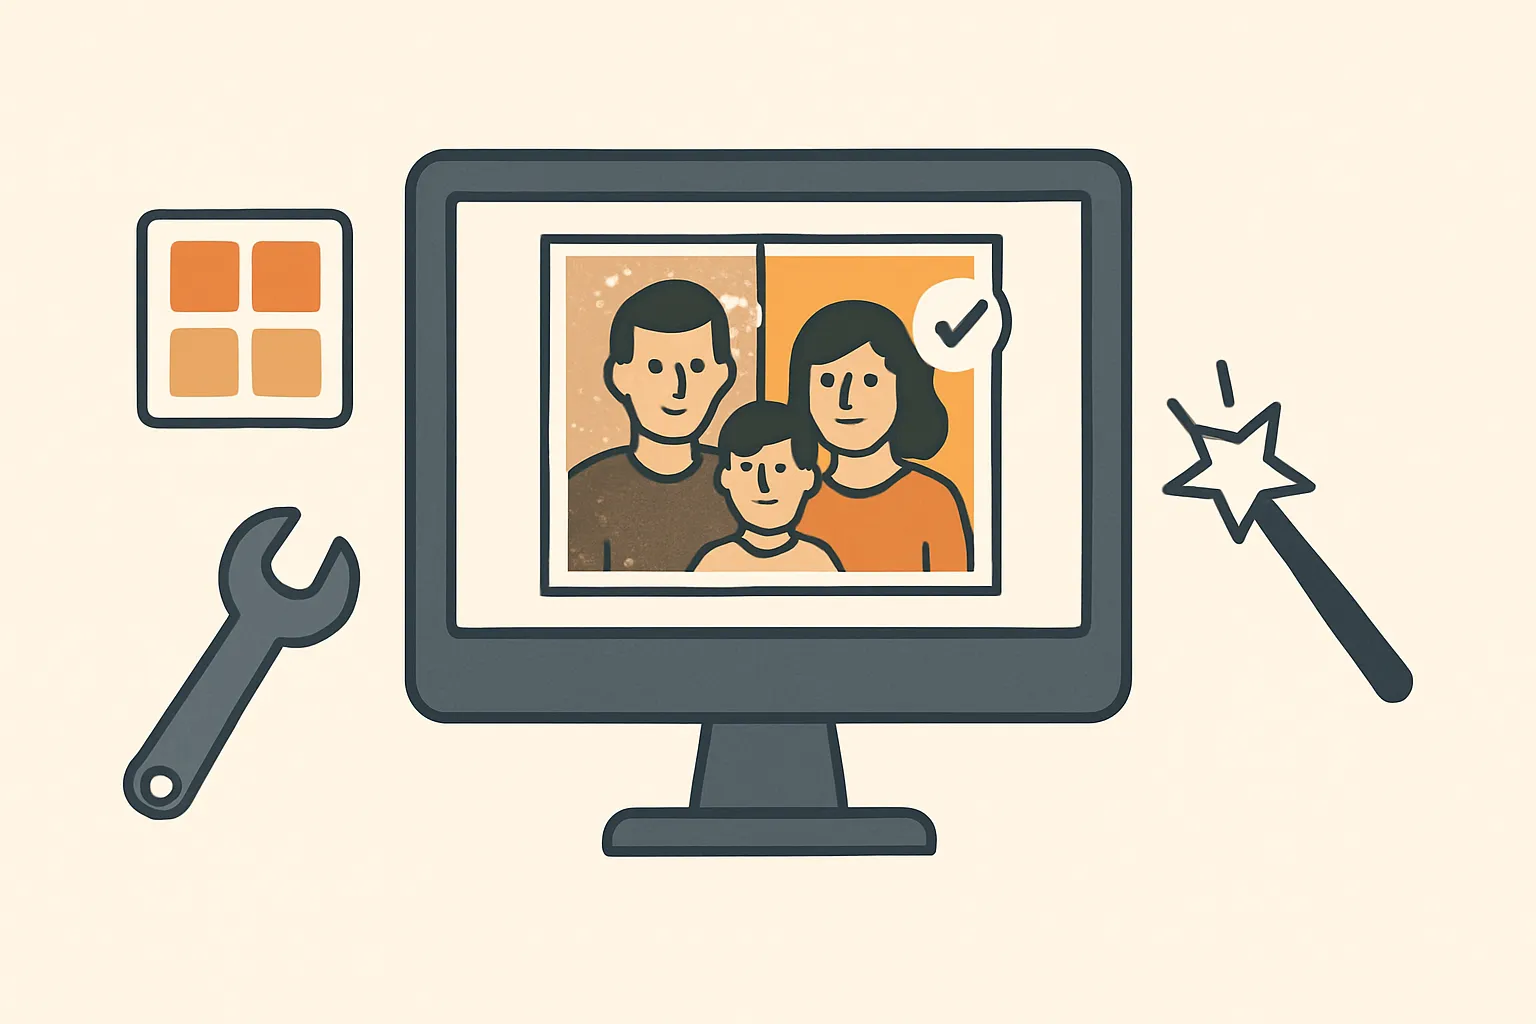
Open your scanned image in photo editing software. Begin with color and contrast adjustments before tackling individual blemishes. Many washed out scanned images benefit most from boosting contrast and adjusting color balance. Use the levels or curves tool to brighten highlights and deepen shadows.
Fixing Common Problems
Dust and scratches require careful removal. Use a healing brush or clone stamp tool to replace damaged areas with nearby pixels. Work at high magnification to see details clearly. For low resolution images for presentations, you may need to accept some limitations in how much detail can be recovered.
Tears and creases demand more attention. Select the damaged area and use content-aware fill or manual cloning to reconstruct missing portions. Compare both sides of the tear to understand what details belong in the gap. Patience produces better results than speed.
Color correction addresses the yellow or brown tint common in old photos. Adjust the color balance by reducing yellow and red channels while increasing blue. For black and white photos that have yellowed, consider converting the image to grayscale after initial corrections. Some photographers prefer to enhance images for archiving by creating both color-corrected and true black-and-white versions.
Sharpening and Final Touches
After removing damage and correcting color, apply selective sharpening. Focus on faces and important details rather than sharpening the entire image. Over-sharpening creates halos and makes the photo look artificial. Test different amounts on a small area before applying to the whole picture.
Crop the image to remove damaged edges that cannot be repaired. Straighten tilted scans using the rotation tool. Save your finished restoration as a new file with a descriptive name that includes the date and subjects. Keep your original scans unchanged so you can start over if needed.
For photos you plan to print, work at the size you need from the beginning. If you want to improve scanned photos for printing, check that your resolution matches the print dimensions. A 4x6 inch print needs at least 1200x1800 pixels for good quality.
Preserving Your Work
Store your restored images in multiple locations. Keep copies on your computer, an external drive, and cloud storage. Organize files by year or family branch so relatives can find specific photos easily. Include notes about who appears in each picture and when it was taken.
Share your restored photos with family members who might have information about the people and places shown. They may remember details about clothing, locations, or events that help you date and label the images correctly. Some relatives might have their own copies of the same photos in better condition.
When you finish restoring a batch of scanned family photos, you might want to enhance webcam and laptop photos of current family members to add to your collection. Better Colors offers a free desktop app that improves image quality with AI-powered enhancement, making it quick to process multiple photos before adding them to your family archive.